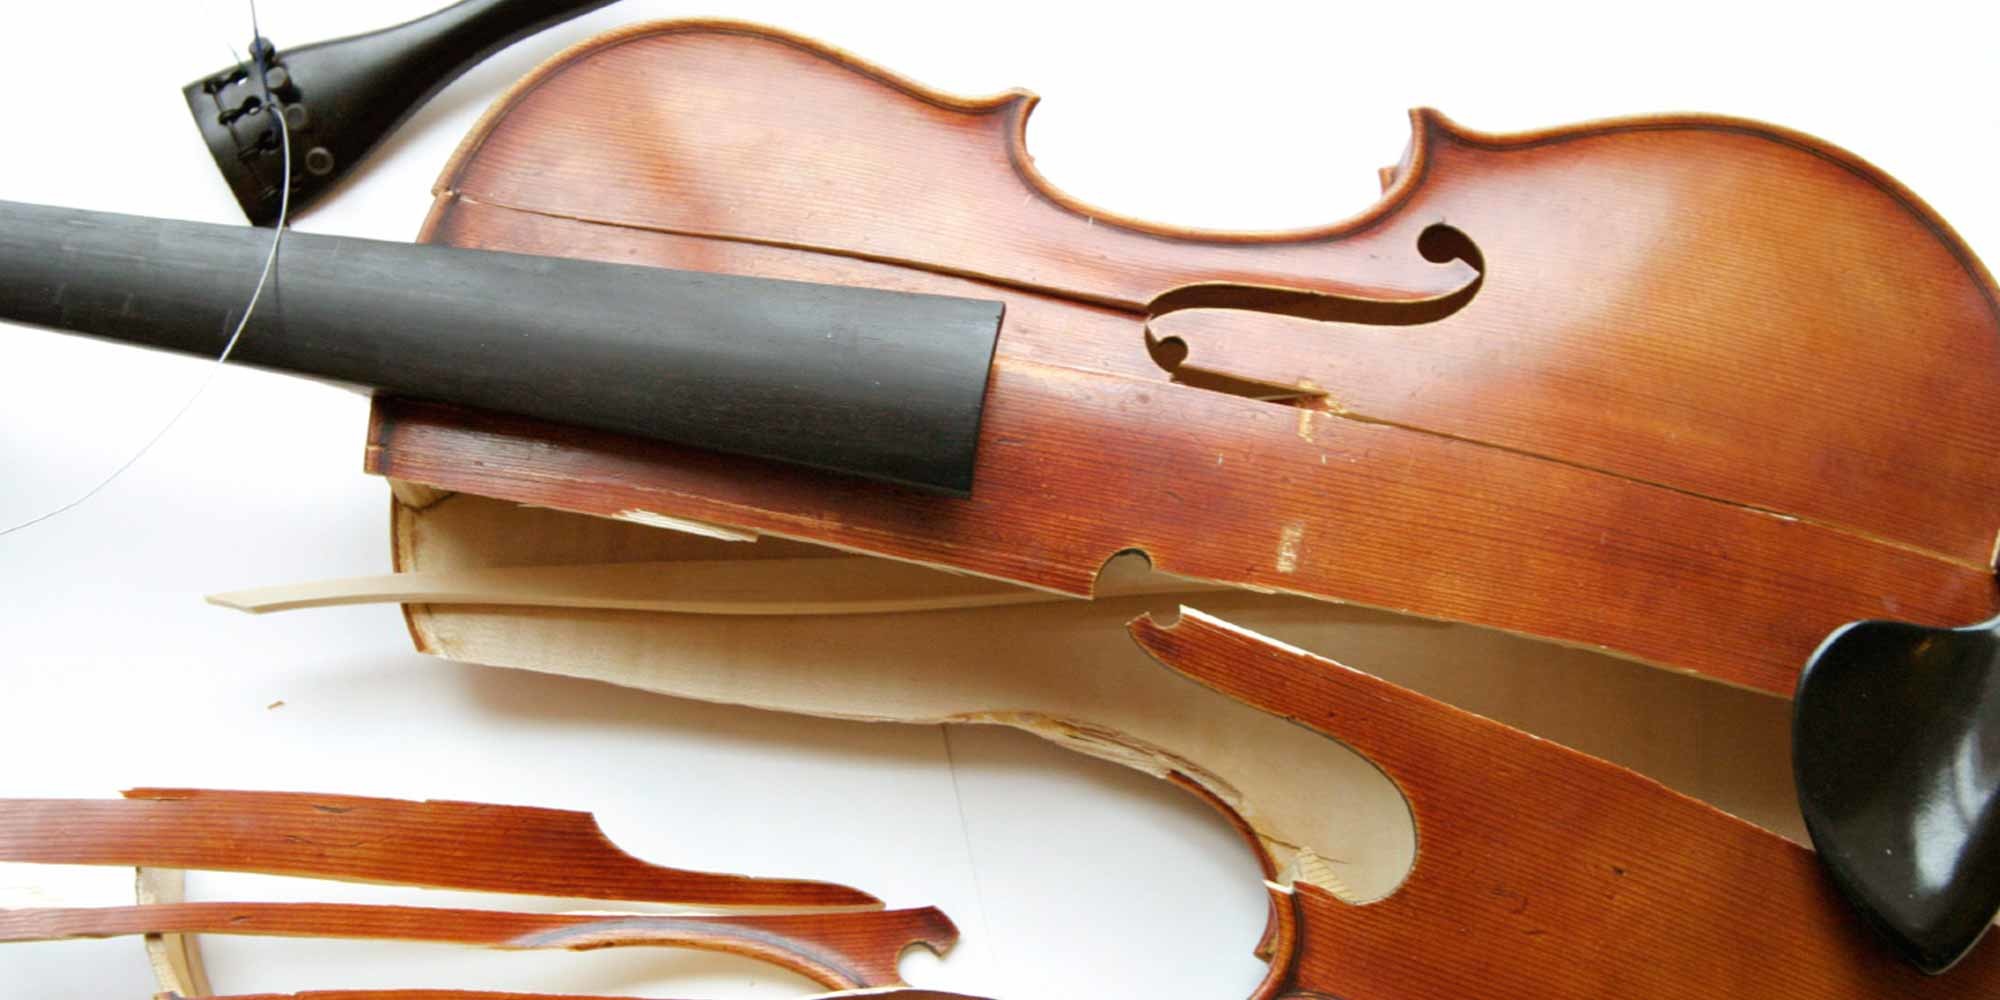
5 Tips for Avoiding Trips to the Violin Doctor
The last thing a string player wants when sweating tirelessly in a practice room is an emergency trip to the violin doctor. It takes extra time and money, and honey, we ain’t got that.
While the unexpected can inevitably happen, let’s minimize these trips. Avoid challenging your friend to a duel by using your bow as a pretend sword. Be wary of crushing the violin under your arm when you are pretending to be a badass guitar player. Aside from these common sense bits of advice, there’s other ways to stretch time between violin shop visits.
Temperature/Humidity Control
Temperature and humidity extremes can wreak havoc on string instruments. The wood and horsehair expand in hot, humid weather and contract in cold, dry weather, causing wood to crack, seams to open, pegs to stick, and strings to break. For that reason, it’s important to regulate the temperature and humidity.

Planet Waves Hygrometer
Optimally, these variables will stay within a “normal” range all the time. So, how do you know when it’s “normal”? Well, there are better ways than relying on our Spidey sense. A hygrometer is a tool that measures that measures the moisture content in the air. Some instrument cases have built-in hygrometers. For those that don’t, buy a hygrometer and place it in the case. On these tools, many have a “normal” range marked, so no more wondering what “normal” is. Same concept for a thermometer.
So, what do you do to regulate the temperature and humidity? First, you can try to change the environment by moving your instrument into a room of moderate temperature and/or humidity. For seasons that are dry, use a humidifier. A room unit is good for a room you play in a lot, like ones placed in babies’ rooms. There also are many humidifiers designed to be kept in the case or attached to the instrument, providing the proper humidity levels your instrument requires.
When it comes to temperature and humidity, there are a couple of common no-nos. Be careful not to keep the instrument near open windows, drafts, or rooms with extreme variable temperatures. It’s a bad idea to leave the instrument in the car on a hot, sunny day. Varnish can blister, soften, or stick to the bottom of the case; rosin residue can fuse to the varnish; wood can permanently distort in shape — it’s nightmarish. In the cold, microscopic cracks can be created in brittle varnish. Humidity causes even larger dimensional changes than the temperature, so be mindful of the air and avoid these no-nos.
Bow Hair Care
The hair of the bow primarily comes from tails of Siberian and Mongolian horses. Just like our hair, it needs a bit of maintenance. As we play on the bow, the texture of the hair that produces the sound eventually gets smoothed out. For this reason, every six months or so, the bow will have to be “rehaired,” meaning that the current hair is taken off and new hair is fitted to the bow. Rehairs will run $55 to $85, which need to be done by luthiers with training in bow rehairing. There are a few tips to help preserve the life of the hair to avoid early rehairing.
Keep the hair clean. It’s normal for the hair to get a little dirty at the frog, but otherwise, the hair should remain clean. The only thing touching the hair should be rosin and strings. Touching with fingers allows oils and dirt from our hands to rub off on the hair. Make sure to always hold the bow by the wood of the stick and not the hair.
Sometimes a bow rehair is needed early when too many hairs have broken off. It’s normal to break a hair every once in awhile. If it happens, just break the remaining part of the hair off the stick. If hairs break every time you play, many times within one sitting, or all from one area, this can create an issue. A full bow of hair is needed to make the fullest sound possible. If half the hairs are broken off, then the bow will make half the sound, so it’s time for a rehair. A lot of times, breaking hairs can be minimized through technique.
Bridge Maintenance
The bridge of the violin is actually not glued on to the instrument, but is held up by the pressure across the strings. That is why the bridge will fall if all the strings are taken off. For this reason, it’s susceptible to extra issues: It can break, bend, warp, or crack. When it’s time to replace or fix your bridge, you can’t just order a new one on Amazon. It needs to be fitted to your specific instrument by a qualified luthier, making it more time-consuming and expensive.
When changing strings, don’t take all the strings off at once. Instead, change them one at a time. Take one string off, put on the new one, and tune the string to the correct pitch. Only after the new string is restored to the right pressure by tuning it should you move on to the next string. This will prevent the bridge from falling down or warping.
I once went through three warped bridges within a relatively short period. Between the extra trips to the shop and the extra expense, I was very curious to find out why this was happening. Turns out, the bridge was slowly shifting on an angle during tunings. The pressure on the angle was making the bridge bend towards the fingerboard, warping the wood. To prevent any further bridge replacements, I now check to make sure after any major tuning or string change that the bridge is completely vertical. If I see any angle, I carefully return it to a vertical position.
Cleaning Concerns
Cleaning the instrument is like taking care of your teeth. You brush and floss everyday, right? With your instrument, keep a cleaning cloth in the case. Wipe off the violin before putting it back in the case to prevent rosin dust from building up. Also, washing your hands before practicing can prevent dirt from your hands from building up.
Just as you are supposed to get your teeth cleaned and checked for cavities every six months, it’s a good idea to have your violin professionally cleaned, polished, and checked for general maintenance. Instead of looking for cavities, your luthier will look in the violin’s cavity to see if the soundpost is in the right place, the seams are not coming apart, and the bridge is in good condition. This will prevent any seemingly small issue from become a larger, more expensive problem at an inconvenient time.
Never, ever use any cleaning chemicals except violin-safe products. I recently had a student use hand sanitizer on their fingerboard. It might be bacteria-free, but it’s also varnish-free. Delicate varnish can not tolerate such products, so it is necessary to purchase special cleaner made for the violin.
Case and Tool Usage
A good instrument case in workable condition is a must. It protects the instrument during travel, transit, and periods of storage. The best protective cases are hard-shell cases, but even within this category are dozens of great options depending on need. Take the train? There are cases with “subway straps” for carrying convenience and water-resistant covers for when it rains. Carry multiple bows? Check out cases with spaces for up to four bows. Carry lots of music? There are cases with large, detachable external pockets. The possible combinations are endless, so mix-and-match based on need.
Having a good case is one issue, but using it is something entirely different. When taking a practice break, put the violin in its home. While the floor may be convenient, putting your instrument there may be the instrument’s final resting place. The violin doctor may not be able to resuscitate that condition. In addition, hanging a violin on the stand from the scroll is another dangerous occurrence. Instead of letting it fall, lay it in the case.The case’s storage compartments can conveniently keep a few instrument care items, the most common being a cleaning cloth. This isn’t a paper towel or dish rag, but instrument-safe delicate cloth that won’t scratch or damage the varnish. Wipe the violin down after every use to take off rosin dust, residue, or anything else that you don’t want adhering to the instrument.
Ever feel like you need plyers to turn the peg? Is your violin constantly making cat sounds when the pegs slip?
Peg compound is great little trick, especially during periods of weather change. The little tube is cheap and small, so there’s really no excuse not having it in your case when you need to rub a little on your pegs. This prevents going to the violin shop to have them put on peg compound, or worse, crack the peg or pegbox when trying to tune.
A chin rest tool won’t be used as much as other items in your case, but is a lifesaver when it’s needed. This small, metal wrench tightens and loosens the chinrest. Occasionally, the chinrest will need to be tightened or loosened. It will also be needed if you ever decide to switch out your chin rest for one of a different shape. I’ve seen an end of a hanger be used when there was not a tool handy, which can easily scratch the surface.
The most important items to have are extra strings. Strings will eventually break, sometimes at very inconvenient times. I have had strings pop during performances. It sucks, but that’s life. You’ll want to put another string on as soon as possible, rather than waiting until you can get to the violin shop, so keep this as part of your violin first-aid kit in your case.
FONTE: https://reverb.com/news/5-tips-for-avoiding-trips-to-the-violin-doctor
Julian Ludwig é diretor do Pro Áudio Clube, produtora de áudio Jacarandá, Loc On Demand e Jacarandá Licensing. Trabalhou para empresas como: Guaraná Antartica, TV Gazeta, NET, Chivas Regal, FNAC, Prefeitura de São Paulo, Mukeca Filmes, Agência LEW’LARA TBWA, Agencia MPM, Agência Content House entre outras. Fez trilhas para programas de TV como: Internet-se (Rede TV), Você Bonita (TV Gazeta), Mix Mulher (TV Gazeta), Os Impedidos (TV Gazeta), Estação Pet (TV Gazeta), CQC (TV Band) Vinheta Oficial TV Gazeta, entre outras. Também atuou em vários longas e curtas metragens, incluindo mixagem em 5.1 e serviços de pós-produção.